
A is for Accurate
I will be honest, when it comes to clipping I am as OCD as David Beckham. I’d never risk a horses (or my) safety for a perfect clip, but a good clip is like a classic Chanel bag or the perfect Little Black Dress – it can take your horse’s appearance from simple to star. A bad clip on the other hand with jagged lines, missed patches or clip lines on the coat can really take away from the whole picture. Just taking your time and planning what you are doing can make all the difference. A clip will take you at least 40-60 minutes maybe longer if you are new to doing it. If you are unsure of where to clip your lines then cheat by drawing them on in advance with chalk, make up or a marker (not a permanent one!) . Straight lines for blanket and trace clips can easily be marked on by using a strip of baler twine or an old stirrup leather. Lines on the legs should just run along under the muscle at the top of the legs at the shoulder and thigh
B is for Blades
Sharp blades that are the correct type for your clippers are an essential pre clipping requirement. It is always wise to have not one but two sharpened sets available – trust me there is nothing worse than the feeling when you are half way through a horse and you realise that the blades are getting blunt! Making sure the coat is clean and free from sand and grit before clipping will help your blades to stay sharp for longer. Sharp blades also give a more comfortable clip for your horse as they will not drag on the hair, and will produce a tighter clip that will keep the horse hair free for longer.
C is for Cross Tying
Cross Tying is basically tying your horse up with a lead rope attached to each side of the head collar. This restricts the horse’s range of movement when tied up and creates a much safer clipping environment as the horse cannot turn around or swing the head or the quarters very far. I keep a ring of baler twine attached to either side of the stable door and tie a lead rope to these attached to each side of the head collar. Cross tying is particularly handy when clipping the face as one side can be unclipped and the horse is still tied up. I have found that most horses will happily stand cross tied and are much less likely to try to move about the stable.
D is for Dermalogica Barrier Repair
The post clipping nightmare – you go home after clipping with a red itchy irritated face pock marked with oil and hair – lovely. Barrier Repair is excellent on irritated skin and calms the redness and soreness overnight. Best of all its un-perfumed so suitable for sensitive skin. I use this after washing my face after clipping and it feels like velvet going on and calms my skin right away.
E if for Elbows
One of my pet hates is when people clip a horse and leave the elbows hairy. Not only does this look awful – but it’s also a bad idea as sweat will collect in the elbows when the horse is in work and the hair and skin can become matted and sore. To clip the elbows correctly have a helper lift up the hoof as if to pick it out, and then stretch the leg forwards. You can then clip the area. Some horses are placid enough to allow you to both lift the leg and clip the area yourself. Leaving a well clipped horse with hairy elbows is the equestrian equivalent of that photo of Julia Roberts at the red carpet event with hairy armpits.

F is for Face
The decision to fully clip or half clip the face relies on a number of factors. If a horse will be living out in cold weather or standing about in it I always feel it may be kinder to just clip half the face. In saying that, some horses get extremely sweaty around the ears and brow area and may be better off with a fully clipped face. The main thing to remember when clipping the face is to take your time and be safe – a sudden movement of the horse when clipping this area can lead to injury. I would usually recommend having someone hold the horse if it’s the first time to have its face clipped. If clipping half the face, create the line along the line of the bridle’s cheek pieces – from the back of the ear to the cheekbone and down to the mouth.
When clipping a full face I will where possible use a twitch because when you are in this vicinity if the horse moves suddenly you can risk an injury to the eye or ear. A sudden bang in the yard, a sudden noise or movement can cause the horse to sudden turn their head so it is important when clipping the face (twitch or no twitch) to be aware of the environment around you and how the horse may react to it.
G is for Goggles
If you have sensitive eyes, wear contact lenses or like me are vertically challenged, a set of racing goggles can be a great accessory to wear when clipping to keep the falling hair out of your eyes. You can pick up a cheap pair in equestrian stores.
H is for Hair
Hair gets everywhere – and I mean EVERYWHERE. When clipping it’s a good idea to cover yourself up and have a separate unfortunate set of clothes for the job itself. My own clipping gear consists of a ten year old pair of waterproofs, an old golf jacket, some steel toe boots and some goggles. Not the classiest attire but it keeps the hairs out of undesirable areas!
I is for Itchy
Its not just people that get itchy after a clipping section, some horses do too from the loose hair and scruff sitting on the skin. A simple way to relieve this is to wipe down the clipped coat with a pack of baby wipes which collects any loose hair and scruff that’s sitting on the surface. If you can get packets containing aloe vera that’s even better. Best of all this will make your horses clipped coat nice and shiny!

J is for Jumpy
Some horses just don’t relish the thought of the clipper machine. In particular some have the fantastic habit of jiggling about just as you go to clip lines at the top of their legs leaving you with a disastrous zig zag look going on. I always find with a jumpy horse you can help settle them by placing your free hand onto the area you will be clipping next – often if the horse knows where you will be going next they are less nervous. When doing the leg lines, make sure the horse is standing with the weight on the leg in question. If you have a helper, get them to hold up one leg while you clip the line on the top of the other.
K is for Kick
It is exactly what you don’t want when clipping! Most horses familiar with clipping will not kick but it is worth taking care with young and inexperienced horses or those that simply do not like clipping. I always clip with a plastic block in the stable with me (the type you use with poles to build SJ fences). Not only is the block fantastically handy to stand up on when clipping horses backs and faces – it has also saved me from a kick. When clipping the hind quarters or the belly I place the block in front of me beside the horse. It means that if they do kick out either intentionally or unintentionally I won’t get the impact. If you haven’t got a block, a bale of hay will work just as well.
L is for Legs
Clipping the legs is a bit like marmite – some people love it, some hate it. If a horse is living out full time it is not something I would recommend as it leaves the legs much more exposed to the elements and the heels no longer have the protection of the feathers so a lot more time taking care of and checking the legs is needed. Also if horses are to be hunted or worked a lot in an outdoor sand arena – clipping the legs leaves the legs more at risk of an injury or sand irritation.
If you are going to clip them, remember first where you are clipping and take care. You need to take extreme care at the back of the lower legs to avoid any damage to the tendons as a nick or cut in this area could be serious. With horses with a lot of feather – before clipping, comb out the hair and check for any cuts or dry patches. These can often be hidden and clipping over them can hurt so it’s better to know in advance and then go easy around these bits.
To clip the legs I usually start at the top clipping against the hair and work downwards. At the bottom of the legs and around the hoof and heels you may find it’s easier to clip in the same direction as the hair which will produce the same result without clipping with the machine pointed towards your face. Make sure to look at the inside of the legs so that you do not miss any patches and to be careful of the chestnuts. The other thing about clipping the legs is it is going to look mighty stupid if you only get half of one done and then have to abandon the rest – the three furry legs look is not in . If the horse doesn’t like you clipping his body in the first place it might be best to leave the legs alone!

M is for Mistakes
We have all been there! What started as a blanket clip ended up as the horse equivalent of a mini skirt with wobbly lines. The first horse I clipped turned out as my clipping mentor so nicely put it ‘Like it was wearing knee socks on its hind legs’ – oops! Remember hair grows back. If you got the job done without a row with the horse or nicking either of you, then that’s not too bad. With leg lines – aim a little high to start with if you’re worried of going wrong, you can always take more hair off but you can’t put it back once it’s gone.
N is for Neck
When clipping the neck it is a good idea to first tie the horse’s mane up. You don’t need to fully plait – I just section it and stick a few plaiting bands in each piece so that it stands up right. This reduces the chances of accidentally removing part of the mane when you clip the neck. The challenge with the neck is getting close enough to the mane to avoid having a tufty stripe alongside it, without chopping into the mane itself. Your best bet is to keep the clippers parallel to the crest and go slowly – having the mane tied up helps you to see where to clip to.
Some horses have whorls on their neck which can be tricky as you may need to clip in different directions to remove the hair fully.
O is for Oil
Vital for any clippers, make sure you have oil before you start or you won’t get very far! Clippers should be oiled as you start and then again every 10 minutes and every time you change blades. I prefer the can variety over the plastic bottles as they are less likely to leak
P is for Preparation
Before you start clipping have everything ready. A few minutes preparation makes the job much easier .You will need your clippers, oil, plaiting bands, marker/chalk (for lines), protective clothing, extension lead and also whichever rug you plan to put on the horse after the clip.
Cross tie the horse with baler twine.
Brush out and plait the tail into one big plait to keep it out of your way and then bandage the top so you can easily clip around it. Brush over the horse ensuring the coat is clean.
Divide the mane and put in some plaiting bands to keep it out of the way
Mark lines with a marker or chalk if necessary.
Prepare your clipping area – if it is a stable then brush back and bank up all of the bedding to keep it hair free. Remove the water bucket so that it will not end up with a film of hair on top.
Q is for Quick
If you are just clipping the one horse you can afford to take your time but when you have a few to get through or time is limited that is not as easy. Just a few tips to shorten the job:
– If the coat has some scruffy patches apply mane and tail conditioner and brush through with a curry comb then a body brush. The coat shine helps the clippers to get through the coat.
– Rotate blades if they are getting hot and the clipping machine is not yet heating up. Our yard has two clippers so I actually rotate clippers, which works brilliant as I can allow one to cool off while I use the other.
– Methylated spirits will cool blades down in no time. Apply with cotton wool (don’t get it on your hands) or allow the blades to sit in a shallow pool of it. Make sure though that you completely clean the methylated spirits off before applying the blades to the clippers and oiling them before re using.
– If a coat is really thick (and/or dusty underneath) and you are struggling to get the clippers through it – it can be quicker to whip off the top layer of hair by clipping in the direction of the coat. You can then brush off any scruff underneath and clip against the direction of the hair to get the rest of the hair off.
– Leave the tricky bits until last – the face, the legs and any areas the horse does not like! Get the easy bits done first while the horse is happy out and leave the harder bits until last, that way if the horse does get tense or difficult you have not much left to do. Also these areas typically take the longest to clip so it makes sense to get the bulk of the work done first.
– When I clip, I roughly clip the coat off quick enough, do my lines, brush off and then go back over the coat to clip nice and tightly and remove any bits I missed.
R is for Routine
If your horse is nervous of being clipped or had a bad experience before, having a clipping routine after their first good clip can really help to settle them. One horse I used to clip really did not like the job and was very head shy. When I first started clipping him some years ago – it was good to get as far up as his shoulder blade even with oral sedation. In the end he would allow as far as half his face and his legs clipped. A big part of that was that he had a routine and knew what is going to happen next. We do the same routine each time and he got better each time – he was no longer stressed, sweating and weaving. Another horse belonging to a friend who had previously only been clipped with oral sedation is now happy being clipped with a herbal calmer. I am confident that with routine in a few clips he will not need the calmer at all.
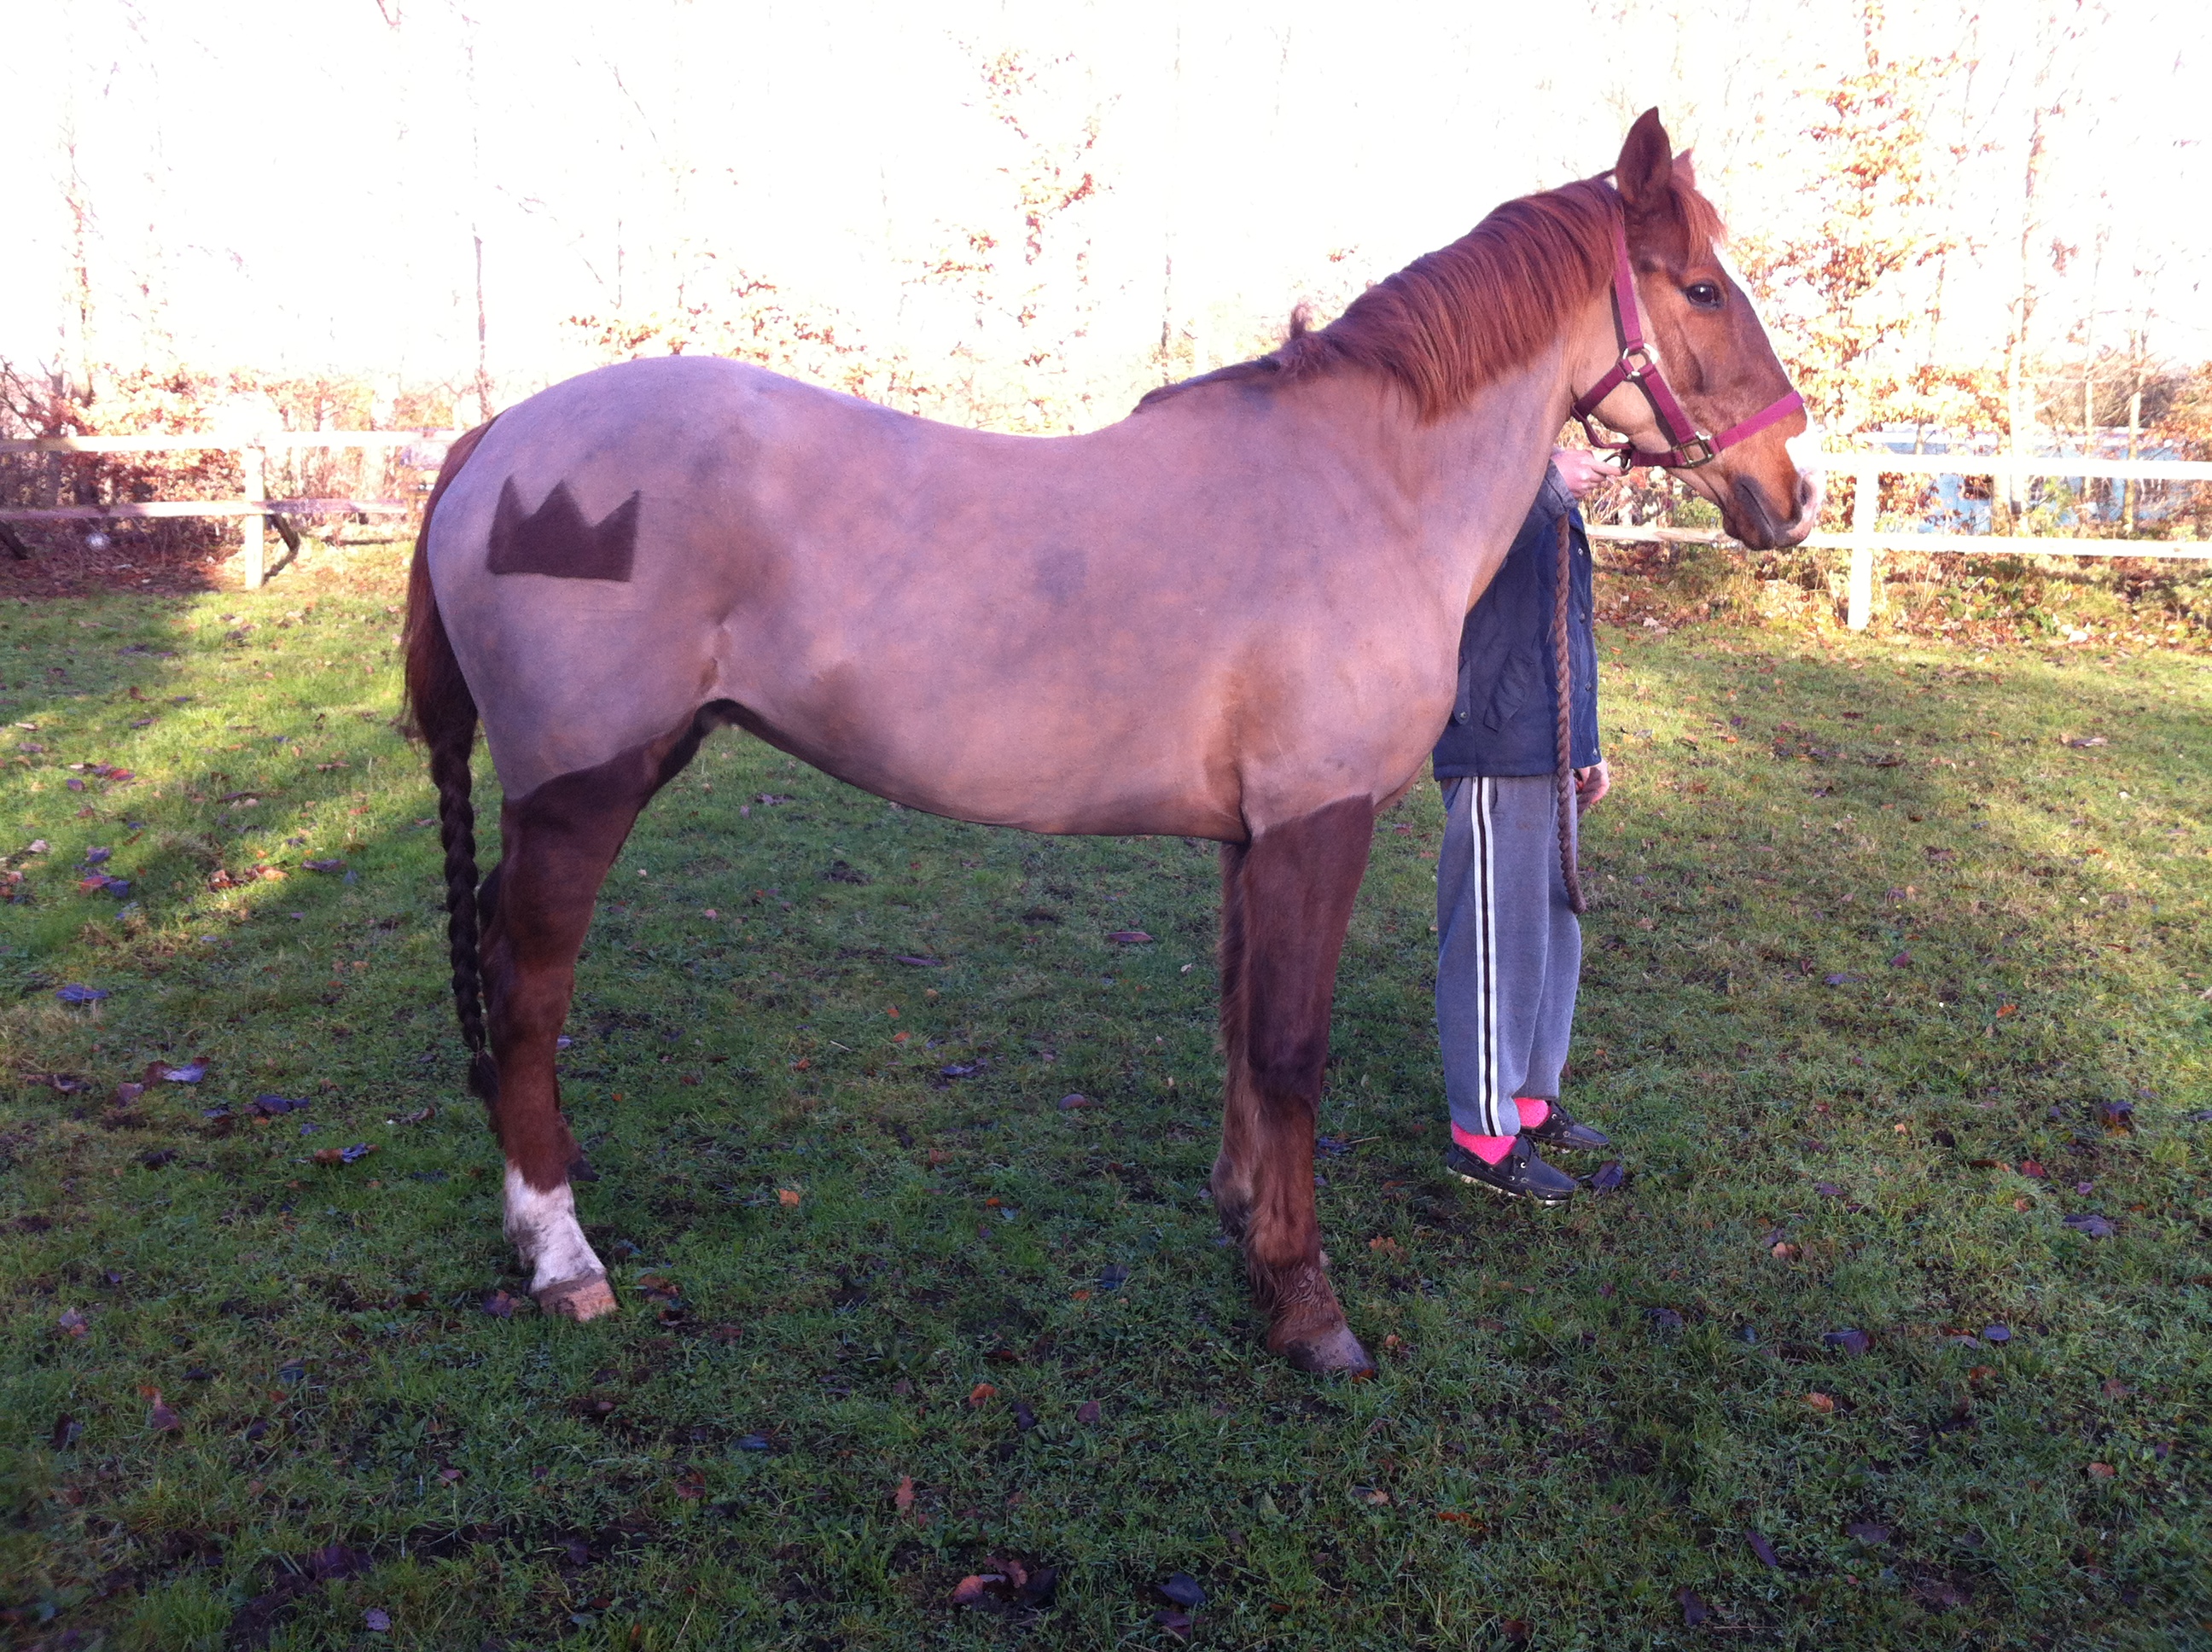
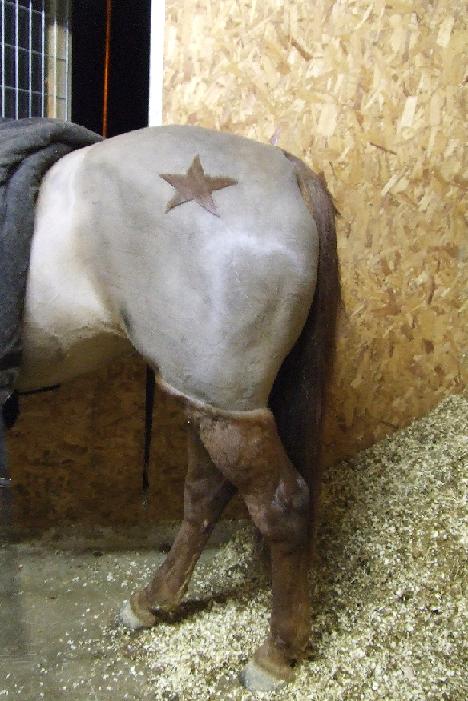
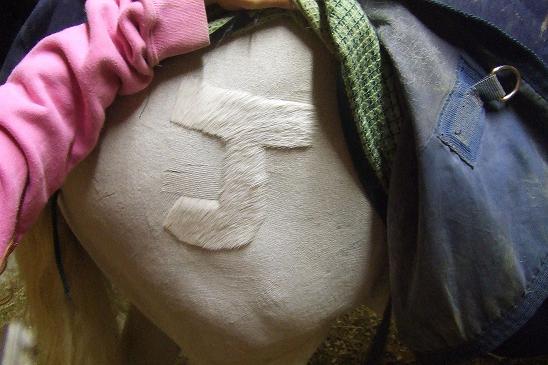
S is for Shapes
You can buy stencils for clipping shapes onto horse’s coats but it is actually really easy to do it yourself and clip a shape onto the quarters or the shoulder. This year so far I have done a heart, star, lightening bolt and the letters J and T. You can cut the shape out of cardboard and clip around it or draw the shape on with chalk/non permanent marker or create the shape using strips of insulating tape and clipping around it. With a bit of practice you will find it easy to create basic shapes freehand even with a regular clipper. I always advise though not to clip the opposite side until you have the shape done – that way if it goes wrong on one side you can always clip it out and try again on the other.
T is for Tail
Before clipping, it is handy to plait and bandage the tail to keep it out of the way. This makes it easier to see if lines are even from the back, to clip the hind quarters and to clip the legs. To clip around the top of the tail – start with the edge of the clippers at the side of the tail and clip a diagonal line to the horse’s spine. Repeat on the other side and this should result on a small neat triangle at the top of the tail.
If your horse has a thick tail that is hard to trim with a scissors – it is easy to bang the end of it with the clippers instead.

U is for Understanding
Like us, every horse is different. If you can find out what makes yours tick life can be so much easier! I always find the more you clip a horse or the better you know it, the easier it is to clip out. Some horses do not like the sound, the look or the feel of the clippers – others will stand half asleep enjoying the experience. I clipped one horse who was fine having his face clipped once you covered his eye with your hand so he could not see it, one who was fine once your body was behind or beside but not in front of his and one bizarre lad who liked his ears rubbed. One horse let you clip his lower legs once you picked up his hoof! Another hates you to stand up on a block behind him. If you can figure out what works for you and your horse – go for it, it’s so much easier and safer to compromise in little ways than to try to force or fight.
V is for Version
What version of a clip to give your horse really depends on a number of factors – workload, thickness of the coat, how much and where they are sweating, if they are living in or out and how much they feel the cold. If you are not sure, again it is worth remembering that you can always take more hair off if you need to but you cannot put it back on. If you are worried your horse will be cold, you could always start with a neck and belly clip and then progress to a blanket or full clip next time if they are still too warm.
The beauty of a partial clip is that you have less hair to take off …..but more lines to do. If you have a steady and even eye you should be fine. If you don’t want to make sure lines are even and the shape of the clip is correct, print out a picture of the clip you want and then mark the lines on the horse. Most of the horses I clip are left with hair only on the legs and half face so when I started doing blanket clips I found it quite daunting to get the lines right (especially when it was someone else’s horse I was doing!), but every time I did one it got a bit easier to judge where to clip.I use a saddle cloth, an old stirrup leather and an old tub of make up to mark the lines.
W is for Washing
In an ideal world horses will always be washed and scrubbed clean before you clip them. Of course with the Irish climate swinging between snow, ice and torrential rain it is not always practical or possible to wash the horse beforehand. Either way the coat needs to be clean before clipping as any sand and grit in the hair will blunt your blades, make clipping take longer and be more uncomfortable for the horse.
If you can wash the horse, make sure that you scrub deep down into the coat to remove dirt, scruff and loose skin. A dettol bath is really brilliant for removing dirt from the coat and is simple to do – put some shampoo and a capful of dettol in a bucket, add warm water, and stir to lather and apply to the coat and scrub in. To dry your horse quicker, add some methylated spirits to the rinse water. This will make the horse dry faster by evaporating the water on the coat.
If you cannot wash the horse – groom thoroughly using a rubber curry comb to massage the hair and bring all the loose grit, dirt, sand, loose hair and skin and scruff to the surface before brushing away. Apply mane and tail conditioner (canter coat shine is my favourite one) to bad areas and massage into the coat before brushing out.
X is for X-Ray
I have lost my big toe nail twice and often ended up with a hoof on my foot. Steel capped boots are a life saver!
Y is for Yeti.
You know the deal. You agree to clip a horse for someone but what you pictured as a soft skinned thoroughbred turns out to be a horse with a six inch coat. If your hand disappears into the hair, you know you’re in trouble.
As horses get older they often tend to develop into yeti type as nature tries to keep them warm or as an offshoot of conditions such as cushings. The trouble with a yeti is it’s hard to wash them once the coat is fully grown as the wet coat can take an eternity to dry and they start to sweat heavily when ridden. If you own a yeti yourself, the best thing to do is to clip sooner rather than later. Once the winter coat has taken over, clip before it gets too huge and before they start sweating buckets when worked. Yes it probably means you have to clip a bit more often, but it means less hair to take off and a quicker job each time.
Z is for Zzzz
Sometimes you need a little help. While it is not worth risking life and limb for a clip, sometimes the job must get done to enable a horse to work. There are a variety of sedation techniques and products on the market and what is needed (if any) depends on the horse.
While some people are adverse to the use of a twitch, I find one invaluable and carry it with me to all clipping jobs in case the need arises. Yes, some horses do not like or simply will not allow you to apply the twitch. However, many will happily accept it and stand quietly while the job is done allowing a much safer experience for all involved.
Oral sedation in the form of ACP or IV sedation by a vet is sometimes required. The important thing to remember is that a sedated horse can still hear, see and feel the same as before so it is important to monitor their state and keep as relaxed as possible. If the horse’s adrenaline levels creep up high enough this can counteract the sedation effect so it is important to take care and be alert. ACP should not be used with stallions.
Always keen an eye on the horses posture, breathing and check for sweating. You often hear people say ‘he was so quiet before hand I did not expect that to happen’ but the signals that a horse is stressed or about to panic can be subtle and often standing too quiet can be a sign that they are under pressure and may react while breathing heavily and sweating are signs of stress.
Of the over the counter products available I have been most impressed with Global herbs Instant Super Calm (available from www.saddlery.biz) and Naf Magiccalm (available in TRI www.triequestrian.ie). Instant Super calm is a small sachet of herbs costing just €3.50. While Instant Supercalm is a great product on its own, for some reason I have found this product works best when administered with a half syringe of Magiccalm (approx €12 for three syringes last time I checked). I gave this to my own mare as she could not be given Sedalin and was stunned at the results, she was happy and calm and for the first time in eight years was clipped without oral sedation or using the twitch. She even stood grooming a friends hand with her nose as I clipped her back.
The benefit of these products over oral sedation is that the horse can safely be ridden or worked afterwards and fed as usual. As with all products – if you are competing, check that products are not prohibited by your discipline’s governing body.
All content produced on this site is my own original content. Please do not recreate in any format without my express permission.
